 Anacortes Siding
 Windows Built for Burlington's Weather, Not Just Its Openings
Burlington sits in the Skagit Valley, close enough to the water and the marine air pattern that moves through Anacortes and the rest of Skagit County to deal with the same slow, grinding weather cycle: damp air that carries salt, long stretches of driving rain off the water, and short winter days that never quite let siding, trim, or window frames fully dry out. Add a moss season that can run from late fall through spring, and you have a climate that is hard on anything with a seam, a gasket, or exposed wood — which is exactly what a window is.
A lot of window problems in this area aren't really about the glass. They're about what's happening around the glass: flashing that was never properly lapped, sealant that was the wrong product for the substrate, or a frame material that looks fine for a year or two and then starts absorbing moisture at the joints. Custom window work in Burlington means treating the installation as a system — frame, flashing, insulation, and interior/exterior trim all working together — not just swapping one pane for another.
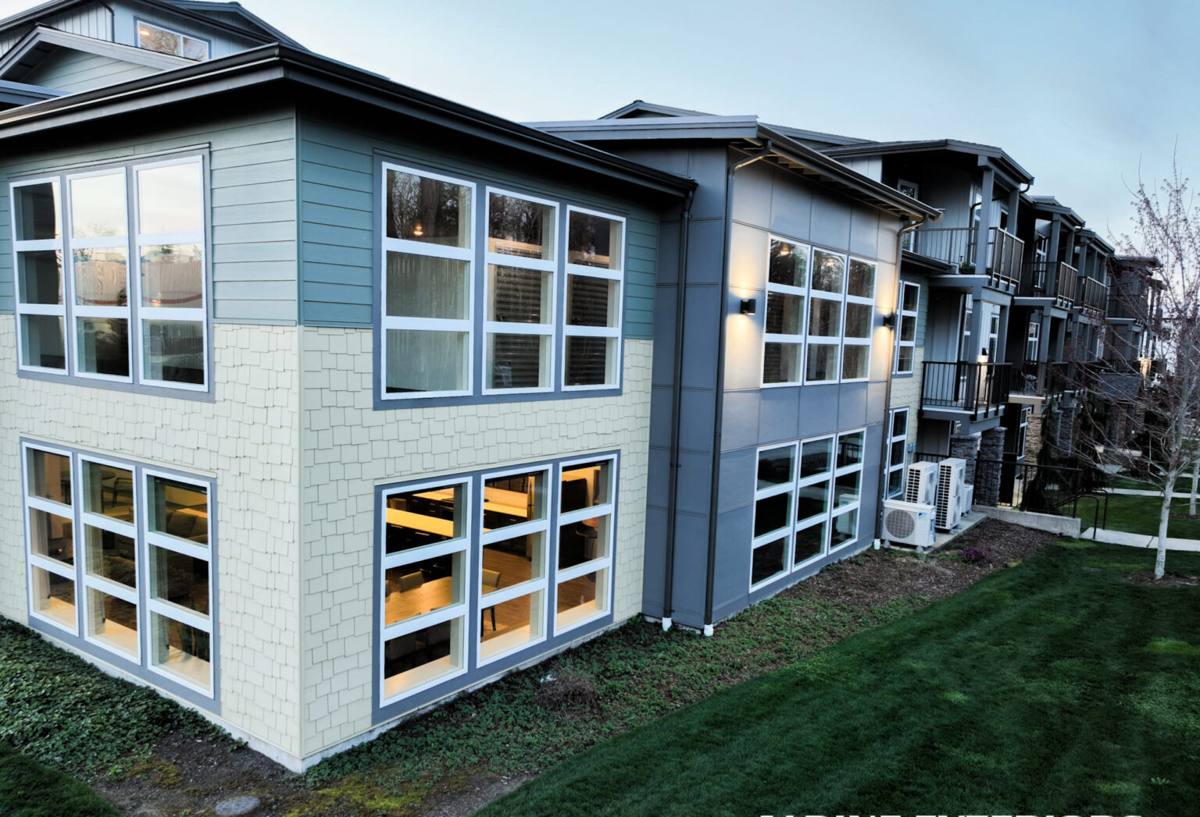
What "Custom" Actually Means Here
Custom doesn't necessarily mean unusual shapes or oversized glass, though we do that too. More often in Burlington's older and mixed-era housing stock, it means windows built to fit openings that are slightly out of square, walls with non-standard depths, or replacement scenarios where a stock size just doesn't work without tearing into surrounding siding and trim more than necessary.
- Exact-fit sizing for openings that have settled or shifted over decades
- Matching sightlines and grid patterns across a home so replacements don't look mismatched next to original windows
- Frame depth and jamb extensions sized to your actual wall assembly, including added insulation
- Glass packages chosen for the exposure — a west-facing wall catching afternoon rain needs different consideration than a sheltered north side
- Hardware and locking styles that hold up to repeated damp/dry cycling without seizing or corroding
Signs Your Current Windows Are Losing the Fight
Because moisture damage from a bad window installation is often hidden behind trim or siding, homeowners usually notice secondary symptoms before they see the actual failure point. Worth checking for:
- Fogging or a persistent haze between panes of double-glazed units — a sign the seal has failed and the gas fill is gone
- Soft or discolored wood trim directly below or beside a window
- Visible moss or dark streaking on the sill or the siding just under the window
- Drafts you can feel with a hand near the frame on a windy day, even with the window latched
- Difficulty locking or latching that wasn't there when the windows were new
- Paint or finish that's bubbling or peeling specifically around the window opening rather than the wall in general
Any one of these on its own might be minor. Two or three together, especially moss plus soft trim, usually means water has been getting behind the frame for a while.
Frame Material Trade-Offs for This Climate
There's no single "best" window material — each has trade-offs, and the right call depends on the home, the exposure, and your maintenance appetite. Here's how the common options actually behave in a wet, salt-tinged climate like Skagit County's:
| Material | Moisture Behavior | Maintenance | Where It Fits Best |
|---|---|---|---|
| Vinyl | Won't rot or corrode; seams and welds matter more than the material itself | Low — occasional cleaning | Most Burlington homes, especially budget-conscious full-home replacements |
| Fiberglass | Very stable dimensionally; handles wet/dry cycling with minimal expansion | Low | Homes wanting a narrower sightline or a paintable frame long-term |
| Aluminum-clad wood | Exterior is protected, but any breach in cladding exposes wood underneath | Moderate — cladding needs to stay sealed at joints | Homes prioritizing a wood interior look with exterior durability |
| Bare wood | Attractive but most vulnerable to sustained damp exposure over time | High — regular refinishing | Historic-style homes where appearance is the priority, with a clear maintenance plan |
| Aluminum (non-clad) | Conducts cold and can promote interior condensation in our winters | Low, but condensation issues can appear | Rarely our first recommendation for full home use here |
We'll walk you through which option makes sense for your specific exposure and budget rather than pushing one material across the board — a sheltered window under a deep eave has very different needs than one taking direct weather on an exposed wall.
What a Correct Installation Actually Involves
The window unit itself is often the easy part. Where jobs go wrong — here and everywhere — is in the details around it:
Flashing and Water Management
Flashing has to be layered correctly — sill pan first, then side flashing, then head flashing — so that any water that does get past the exterior finish drains back out rather than pooling at the bottom of the opening. This is the single most common point of failure we find when we open up an old window that's been leaking.
Sealant Selection and Placement
Not every sealant is right for every substrate, and sealant is not a substitute for proper flashing — it's a backup, not the primary defense. We use sealant in the right locations, with weep paths left open where the window design calls for them, rather than caulking everything shut and trapping moisture inside the frame.
Insulation at the Rough Opening
Gaps around the frame need to be insulated without over-packing, which can bow the frame and affect operation. Low-expansion foam or backer rod and sealant, applied correctly, keeps the opening both sealed and structurally sound.
Interior and Exterior Trim
Trim isn't just cosmetic — it's part of how water sheds away from the opening. We match existing trim profiles where possible and make sure new trim is sealed and painted or finished before it's exposed to a full wet season.
Our Process for Burlington Custom Window Jobs
- On-site assessment — We look at the actual openings, not just a tape measure from a sales visit. Out-of-square openings, existing water damage, and wall assembly all get checked before we quote anything.
- Honest scope and pricing — If a window looks straightforward but the flashing behind it is compromised, we tell you before we start, not after we've opened the wall.
- Material and glass selection — Based on exposure, budget, and how the window fits with the rest of the home's look.
- Removal and inspection — Old units come out carefully so we can actually see the condition of the opening, sheathing, and framing before anything new goes in.
- Installation with proper flashing sequence — Sill, jamb, head, in that order, integrated with your existing water-resistive barrier or siding system.
- Finish work — Interior and exterior trim, sealant, and paint or finish, done to hold up through a full Skagit County winter.
- Final walkthrough — We check operation, locking, and seals with you before calling the job done.
Why a Crew That Already Works Burlington Matters
Window installation isn't a one-size-fits-all trade, and it's not something that transfers cleanly from a dry climate to a wet coastal one. A crew that regularly works Burlington and the surrounding Anacortes area knows which flashing details actually hold up here, which frame materials are worth the upfront cost versus which ones cause callbacks in year three, and how the moss and salt air affect exterior finishes over time. That local pattern recognition is the difference between a window that looks right at installation and one that's still performing correctly five winters later.
It also means fewer surprises with permitting, typical wall construction in the area's housing stock, and realistic timelines around our wetter months, when exterior work has to be sequenced carefully to avoid leaving an opening exposed longer than necessary.
Cost Factors Worth Understanding Upfront
Every home is different, so we don't publish flat per-window pricing, but the main variables that move the number are consistent:
| Factor | Why It Affects Cost |
|---|---|
| Frame material | Vinyl is typically the most budget-friendly; fiberglass and clad-wood cost more upfront |
| Glass package | Double vs. triple pane, low-E coatings, and gas fills all add cost but also performance |
| Opening condition | Rot or damage found once old windows come out adds repair scope |
| Custom vs. stock sizing | Non-standard openings require custom-built units rather than off-the-shelf sizes |
| Trim and siding integration | Matching existing trim profiles or siding cuts takes more labor than a simple swap |
| Number of openings | Whole-home projects typically bring a better per-window cost than one-off replacements |
Living With Your Windows After Installation
Even a well-installed window benefits from basic upkeep in this climate. A few habits go a long way:
- Rinse sills and tracks periodically to keep moss and grime from building up and holding moisture against the frame
- Check exterior caulking lines once a year, ideally before the wet season starts, and touch up anything that's cracked or pulling away
- Keep gutters and downspouts clear so runoff isn't dumping extra water directly onto window heads
- Operate locking hardware periodically through the year rather than leaving windows latched in one position for months
- Watch for early warning signs — a little effort catching a problem early is far cheaper than repairing hidden rot later
If you're noticing drafts, fogged glass, or moisture damage around your windows, or you're planning ahead for a renovation, we're happy to take a look and give you a straightforward, no-pressure estimate — no obligation, just an honest read on what your home actually needs.