 Anacortes Siding
 Building in Edison Means Building for Salt Air and Standing Rain
Edison sits low and close to the water, out where the farmland meets Samish Bay and the tide flats of Skagit County. If you're framing a new home out here, you already know the wind doesn't behave like it does further inland. Moist marine air moves through daily, driving rain comes in sideways off the water more often than most builders from drier parts of the state expect, and moss and algae take hold on any surface that stays damp for more than a few days at a time. Windows installed correctly the first time shrug all of that off for decades. Windows installed with shortcuts — missing flashing steps, wrong sealant, a nailing fin that wasn't lapped correctly with the weather-resistive barrier — start showing wet sheathing and stained siding within a few winters, long before anyone would think to blame the windows themselves.
New-construction window work is where this either gets baked in right or baked in wrong. Once the siding and interior finishes go on, the flashing details behind them are invisible until there's a problem. That's why this stage of the build deserves more attention than it usually gets.
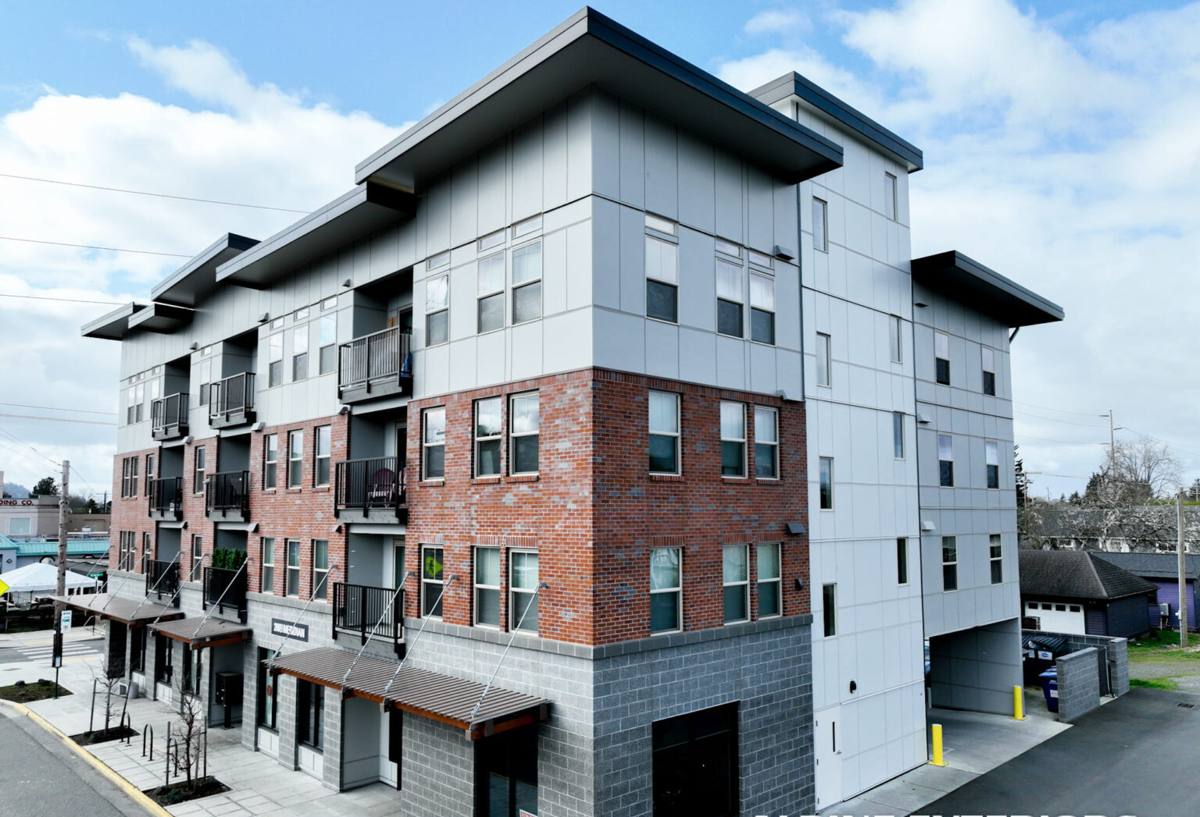
New Construction Is a Different Job Than Replacement — Not Just a Smaller Version of It
A lot of homeowners assume window installation is window installation. It isn't. Replacement work fits a window into an existing, finished wall opening and has to work around what's already there. New-construction installation happens at the framing stage, before siding, house wrap, or interior drywall go in. That's a real advantage — there's no old flashing to fight, no hidden rot to discover, no compromise for existing trim. But it also means every layer of protection has to be built in the correct order, because there's nothing to fall back on if a step gets skipped.
New-construction windows use a nailing flange (sometimes called a nail fin) that gets integrated directly into the wall's water-management system — the weather-resistive barrier, the flashing tape, and eventually the siding. Get that sequence wrong on a coastal build like an Edison home, and the mistake is sealed behind the wall for the life of the house.
Why Sequence Matters More Here Than in a Drier Climate
In a low-rainfall region, a minor flashing shortcut might never get tested by enough water to matter. Around Samish Bay, driving rain and wind-blown moisture test every seam, every year. Redundancy in the water management plan isn't overkill here — it's the difference between a window that performs for 30+ years and one that quietly feeds moisture into the wall cavity.
The Correct Installation Sequence, Step by Step
This is the part of the job that never shows once the house is finished, which is exactly why it has to be done right the first time. Our sequence on new-construction openings follows this order:
- Rough opening is checked for square, level, and correct size before anything else happens — a window forced into an out-of-square opening will never seal properly no matter how good the flashing is.
- Sill pan flashing goes in first, sloped to drain any water that gets past the window back out to the exterior rather than pooling on the sill.
- Weather-resistive barrier is lapped correctly at the jambs and head, following a shingle-style sequence so water sheds downward and outward at every layer.
- The window is set, shimmed level and plumb, and fastened through the nailing flange per the manufacturer's specified pattern — not a generic pattern, since fastening requirements vary by product and affect both structural performance and warranty validity.
- Flashing tape is applied over the side and head flanges, integrated with the WRB so the whole assembly drains as one system rather than relying on caulk alone.
- Head flashing is installed above the window, with a drip cap detail that kicks water away from the top of the opening — one of the most common places we find water intrusion on homes where this step was rushed.
- Interior and exterior sealant joints are completed per code and manufacturer spec, with a gap left at the sill for drainage rather than fully sealing it shut, which is a mistake that traps water instead of releasing it.
Every one of these steps is inspected before siding goes on, because it's the last point where a mistake is cheap to fix.
Choosing Window Materials for a Coastal Skagit County Build
Material choice matters more here than it would on a home 30 miles inland. Salt-laden air, sustained humidity, and moss growth on north- and west-facing exposures all shorten the life of the wrong product. Here's how the common frame materials generally hold up under those conditions:
| Frame Material | Coastal Moisture Resistance | Maintenance Load | Typical Cost Tier |
|---|---|---|---|
| Vinyl | Good — won't rot or corrode, but can flex or warp in extreme temperature swings | Low | Lower |
| Fiberglass | Excellent — dimensionally stable, resists moisture and salt exposure well | Low | Mid to upper |
| Wood, clad exterior | Good on the exterior face, but any breach in the cladding exposes wood to rot risk | Moderate — interior wood still needs periodic attention | Upper |
| Aluminum | Prone to corrosion and condensation in coastal, moisture-heavy climates without thermal breaks | Moderate to high | Varies |
We don't push one material on every homeowner — budget, architectural style, and personal preference all play a role. What we do insist on is being upfront about the trade-offs so the choice is made with full information rather than a sales pitch. For a home this close to the water, we generally steer builders and homeowners toward vinyl or fiberglass unless there's a specific architectural reason to go with clad wood, simply because the maintenance burden and moisture risk are lower over the life of the house.
Meeting Washington Energy Code and Safety Requirements
New construction has to meet current Washington State Energy Code performance targets, and window selection is one of the biggest levers a builder has for hitting those numbers. That means paying attention to:
- U-factor (how well the window resists heat loss) — this matters year-round in a climate with as many gray, damp months as Skagit County gets
- Solar heat gain coefficient, which affects comfort and cooling load even in a climate that doesn't see extreme summer heat
- Egress sizing in bedrooms, which is a life-safety code requirement, not a suggestion
- Tempered safety glass in required locations — near doors, low to the floor, in wet areas, and in other hazard zones defined by code
We coordinate directly with the builder or general contractor's plans to make sure window selection matches what was submitted for permit, since a mismatch here can hold up a final inspection and delay occupancy.
How We Work With Builders and Homeowners on an Edison Project
Most of our new-construction window work happens as part of a larger build, which means we're coordinating with a general contractor's schedule rather than running the whole job ourselves. That coordination matters:
- We review the window schedule and rough opening sizes against the plans before the windows are ordered, catching sizing conflicts before they become expensive change orders.
- We time our crew to the framing schedule so windows go in as soon as the rough openings are ready, keeping the building envelope closed up before weather becomes a problem.
- We document the flashing and sealant work with photos at each stage, since that layer is invisible once siding is on — useful for the builder, the homeowner, and anyone doing a future inspection.
- We flag anything in the plans or existing framing that looks like it will cause a water-management problem down the line, before it's locked in behind finished walls.
If you're an owner-builder or working directly with a general contractor on a home near Edison, we're glad to work either relationship — reporting to your GC's schedule, or coordinating directly with you if you're managing the build yourself.
Common Problems We Catch on New-Construction Inspections
When we get called in to inspect or correct window work that another crew started — or to do a pre-drywall walkthrough on a build we didn't frame — these are the issues that come up again and again on homes in wetter, coastal parts of Skagit County:
- Weather-resistive barrier lapped backward at a jamb, so water is directed into the wall instead of away from it
- Missing or improperly sloped sill pan flashing, leaving no drainage path if water gets past the window
- Fastening pattern that skips required nailing flange holes, which can void manufacturer warranty and reduce wind resistance
- Sealant used as the only water barrier instead of a backup to proper flashing — caulk fails eventually, flashing shouldn't have to rely on it
- No head flashing or drip cap above the window, a detail that matters enormously under sustained driving rain
- Sill fully caulked shut with no weep path, trapping any water that does get in
Every one of these is fixable if caught before siding goes on. Almost none of them are fixable — without opening the wall back up — once it doesn't.
Why Local Experience in Edison and Skagit County Matters
A crew that mostly works drier, inland job sites will get the framing right and still miss the details that matter specifically for a home exposed to salt air and near-constant marine moisture. Working regularly in and around Edison, Anacortes, and the rest of Skagit County means we've seen how these houses actually age — where moss establishes first, which exposures take the worst wind-driven rain, and which flashing shortcuts show up as problems in year three instead of year thirty. That's the kind of judgment that doesn't come from a spec sheet.
It also means we're not learning the local permitting and inspection process on your project. We know what Skagit County inspectors are looking for at the pre-drywall stage, and we build our sequence to pass that inspection the first time rather than scrambling to fix something after a red tag.
Get a Straightforward, No-Pressure Estimate
If you're framing a new home near Edison and want a crew that treats window installation as a water-management job first and a product-installation job second, we're happy to walk your plans, your framing schedule, or your current job site and give you an honest estimate — no pressure, no upsell. Use the form below to get started.