 Anacortes Siding
 When a home is being built from the ground up, the window installation is one of the few steps you only get to do right once. Once the siding closes in around the frames, any mistake in the flashing or sealing is hidden until it shows up as a stain on drywall or a soft spot in the framing years later. In Oak Harbor, on Whidbey Island, that margin for error is smaller than in a lot of places. The homes here sit exposed to wind off the water, long stretches of driving rain, and salt-laden air that doesn't do any favors for hardware, fasteners, or poorly sealed joints. Getting new-construction windows installed correctly the first time matters more here than it does inland.
We install new-construction windows as part of full exterior work on new builds throughout the Oak Harbor area, coordinating directly with builders and general contractors so the window opening, the flashing, and the siding all work together as one weathertight system instead of three separate trades hoping their work lines up.
Why Oak Harbor's Climate Is Hard on Windows and Window Installations
Oak Harbor sits on Whidbey Island in Island County, surrounded by the waters of the Salish Sea. That location brings a specific mix of conditions that windows and their installation details have to handle every year, not just in a single bad storm:
- Salt air corrosion. Coastal air carries salt that accelerates corrosion on exposed fasteners, hinges, and lesser-grade hardware, especially on north- and west-facing elevations that catch wind off the water.
- Driving, wind-blown rain. Rain here rarely falls straight down. Wind pushes it sideways and up under trim, which means flashing details that would be adequate in a calmer climate can fail here.
- A long moss and mildew season. Extended damp periods keep sills, sashes, and shaded elevations wet for days at a time, which is exactly the condition that lets moss and mildew get a foothold on frames and trim that aren't detailed to shed water and dry out.
- Wind exposure. Open water and fetch across the Sound can put real wind load on a building envelope, which matters for window structural ratings and for how tightly a unit needs to be sealed and anchored.
None of this means windows in Oak Harbor need to be exotic or overbuilt. It means the installation details that get glossed over in milder climates can't be skipped here.
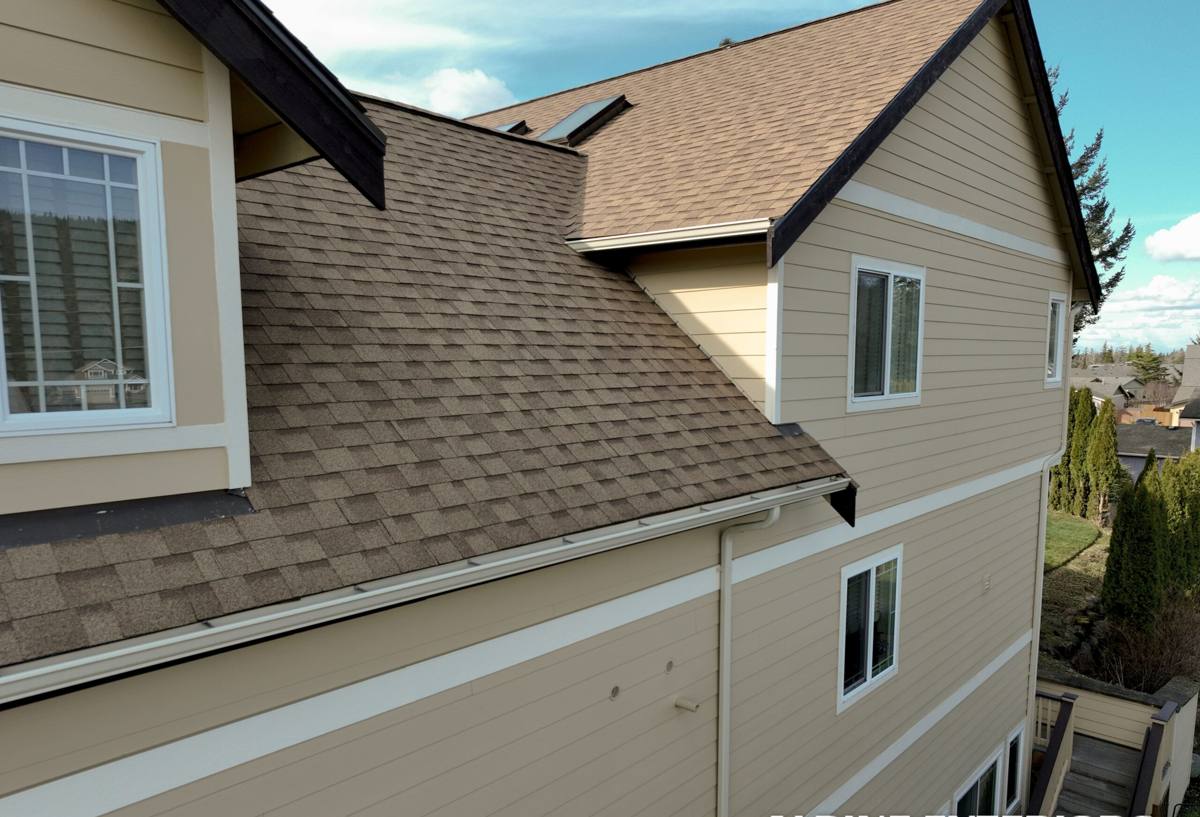
New Construction Is a Different Job Than Replacement
Replacement window work has to accommodate whatever flashing and framing already exists, often compromising around what's there. New construction is the opposite situation — the rough opening is open, the weather-resistive barrier isn't installed yet, and there's a real opportunity to build the water management system correctly from the framing outward, with nothing hidden and nothing to work around.
That's an advantage, but only if the person setting the windows understands how the whole wall assembly is supposed to work together. A window installed square and level but without a proper sill pan, correctly lapped flashing, and compatible sealants is still a future leak — it just won't show up until the siding and drywall are both closed in and the source is much harder to find.
Working Around the Build Schedule
New-construction window installation also has to fit into a builder's schedule. Windows typically go in after the structure is framed and the weather-resistive barrier is on, and before siding starts. That means coordinating with the general contractor's timeline, showing up when the opening is actually ready, and not holding up the framing or roofing crews. We work directly with builders and GCs on Oak Harbor projects so window installation happens at the right point in the sequence, not as an afterthought squeezed in between other trades.
What a Correct New-Construction Window Installation Actually Involves
There's a sequence to this, and skipping steps or doing them out of order is how leaks happen. Here's what should happen at every rough opening, regardless of window brand or style:
1. Rough Opening Inspection
Before a window ever gets set, the opening should be checked for square, plumb, and correct sizing per the manufacturer's specifications. An opening that's out of square gets forced windows that don't operate smoothly and seal poorly at the corners — a common source of leaks that has nothing to do with the window itself.
2. Sill Pan Flashing
A sill pan creates a dedicated drainage path so that any water that does get past the window — and some always will, eventually — has somewhere to go besides into the wall framing. In a climate with as much driving rain as Oak Harbor sees, a back-dammed sill pan isn't optional; it's the difference between a nuisance leak that drains harmlessly and one that rots framing from the inside.
3. Weather-Resistive Barrier Integration
The house wrap or weather-resistive barrier has to be integrated with the window flashing in the correct shingle-lap order — bottom, sides, then top — so water is always directed down and out, never into a seam. This is the step that most often gets rushed on a tight schedule, and it's the one that determines whether the wall behind the siding stays dry for the next thirty years.
4. Setting, Shimming, and Anchoring
The window gets set into the opening, shimmed square and plumb, and anchored per the manufacturer's fastening schedule — not a generalized pattern, but the specific spacing and fastener type the manufacturer's warranty requires. Skipping this step is one of the more common ways a warranty ends up voided without the homeowner ever knowing.
5. Head Flashing and Sealant
A head flashing above the window sheds water around the top of the unit before it can reach the seam, and the sealants used at every joint need to be compatible with both the window frame material and the WRB. Mismatched sealants can fail to bond or degrade early, which quietly reopens a joint that looked sealed on installation day.
Choosing a Window Frame Material for a Coastal Build
Frame material matters more here than it would somewhere without salt air and constant moisture cycling. There's no single right answer for every project — it depends on budget, exposure, and how the rest of the home's exterior is being finished — but the trade-offs are worth understanding before a builder or homeowner commits.
| Frame Material | Upfront Cost | Salt Air & Moisture Resistance | Maintenance |
|---|---|---|---|
| Vinyl | Lower | Good — won't corrode or rot, but exposed hardware and dark colors can fade or warp with sun and wind exposure over time | Low |
| Fiberglass | Mid to higher | Very good — dimensionally stable in temperature swings, holds up well to sustained damp and salt exposure | Low |
| Wood-clad | Higher | Depends heavily on the quality of the exterior cladding and how well joints are sealed and maintained | Higher — needs regular inspection of cladding seams and any exposed wood |
| Aluminum | Mid | Poor without a quality thermal break and coating — prone to corrosion in salt air over time | Moderate |
We don't push one brand or material as the only acceptable choice. What we do insist on, as our own standard, is matching the frame material and glass package to the actual exposure of each elevation — a west-facing wall catching direct wind off the water deserves more scrutiny than a sheltered, south-facing opening on the same house.
Glass Packages Worth Considering in This Climate
Beyond frame material, the glass package affects comfort and moisture performance. A dual-pane, Low-E insulated glass unit is standard for most new construction in this region and performs well. Homeowners building on more exposed lots, or aiming for lower heating costs through the wetter months, sometimes step up to a triple-pane or higher-performance Low-E coating — that's a conversation about budget and priorities, not a requirement, and we'll walk through the honest trade-offs rather than upsell a package a given home doesn't need.
Our Process on Oak Harbor New-Construction Projects
We coordinate with the builder or general contractor from the point windows are ordered through the point siding closes the wall system in. In practice that looks like:
- Reviewing rough opening dimensions against window specs before units arrive on site, catching sizing issues before they become schedule delays.
- Inspecting each opening for square and correct WRB installation before setting any window.
- Installing sill pans, setting and anchoring windows per manufacturer specification, and integrating head flashing with the WRB.
- Photographing flashing details at each opening before siding covers them — not for show, but so there's a record of what's behind the wall if a question ever comes up years down the road.
- Moving directly into siding installation with the same crew, so there's no handoff gap where responsibility for the water management system becomes unclear.
A Checklist Before Windows Go In
Whether you're a homeowner working with a builder or a GC bringing in a window crew, these are the things worth confirming before installation day:
- Rough openings have been checked for square and correct sizing against the window manufacturer's specs
- The weather-resistive barrier is installed and ready for proper shingle-lap flashing integration
- Sill pan flashing with back-damming is part of the installation plan for every opening, not just ground-floor units
- The fastening schedule follows the specific window manufacturer's warranty requirements
- Sealants specified are compatible with both the window frame material and the WRB in use
- Someone is documenting flashing details before siding closes the wall in
- The window and siding installation are coordinated as one continuous water-management system, not two separate trades working in isolation
Why It Matters Who Installs New-Construction Windows in Oak Harbor
Window installation looks straightforward from the outside — set the unit, screw it in, caulk the edges. The part that actually determines whether a home stays dry for decades happens in the flashing details that get covered up within days of being installed. A crew that's used to milder inland conditions can do competent work and still miss the details that matter specifically for a site exposed to Whidbey Island's wind and driving rain.
Working regularly in and around Oak Harbor and the wider Anacortes and North Puget Sound area means we're not guessing at how exposed a given lot is or what elevation needs extra attention to head flashing and sealant selection. We've built our installation standards around the conditions this region actually produces, not a generic specification sheet.
Get an Estimate for Your Oak Harbor New Build
If you're building new in Oak Harbor and want windows installed correctly the first time — with flashing details built for this region's wind and rain, not just a generic install — we're glad to walk the plans with you or your builder. Use the form below to request a free, no-pressure estimate.