 Anacortes Siding
 Window Installation Built for Burlington's Weather, Not Just the Showroom
Burlington sits in the heart of Skagit County, close enough to the Salish Sea that homes here deal with the same moisture-heavy air that shapes weather across Anacortes and the rest of the region. Long stretches of driving rain, humid air that never fully dries out between storms, and a moss season that seems to stretch longer every year all put real stress on window openings. A window that looks fine going in can fail quietly for years if the flashing, sealing, and drainage aren't done correctly the first time.
Window installation is not just a measure-and-caulk job. It's a water-management job first and an aesthetic upgrade second. Get the water management wrong, and you're looking at rot in the framing, mold behind the trim, and energy bills that creep up as seals degrade. Get it right, and a well-installed window should give a Burlington homeowner decades of trouble-free performance.
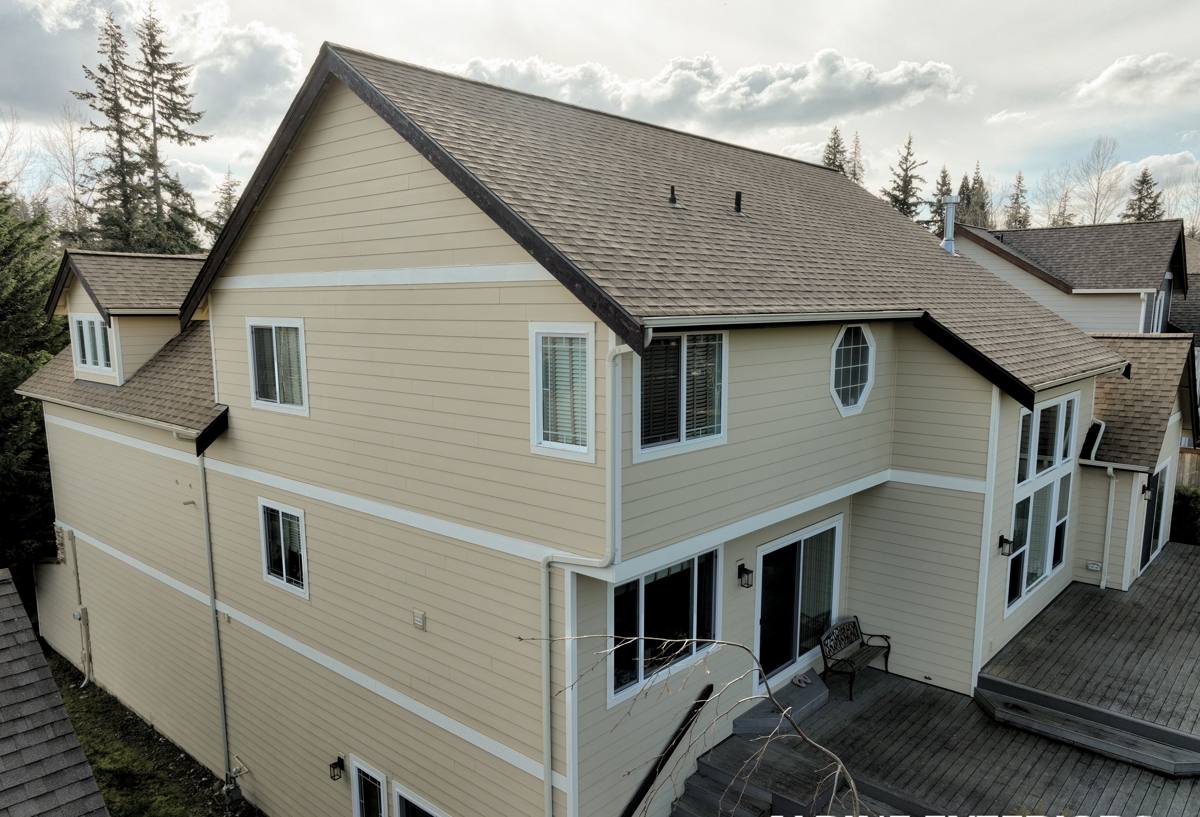
Signs Your Burlington Home's Windows Are Struggling
Most window problems don't show up as a cracked pane. They show up as symptoms that homeowners often blame on something else. If you're seeing any of the following, it's worth having the windows themselves inspected, not just the glass:
- Fogging or condensation between the panes of a double-pane window — a sign the seal has failed
- Soft or discolored trim and sill wood around the window frame
- A persistent musty smell near exterior walls, especially after a stretch of wet weather
- Drafts you can feel with a hand near the frame on a windy day
- Windows that stick, won't stay open, or are hard to lock
- Visible moss or dark streaking on the siding just below a window
That last one is worth calling out specifically for this area. Moss and algae growth below a window is often a sign that water is shedding off the window in the wrong place, or that a failed sealant joint is letting moisture track down behind the siding instead of off the surface. In a climate with as long a wet season as ours, that kind of chronic dampness compounds fast.
What a Correct Window Installation Actually Involves
A window looks like a simple product, but the install is where the performance is decided. Two identical windows installed by different crews can perform very differently ten years later based entirely on what happened in the rough opening before the window ever went in.
Flashing and Water Management
Every window opening needs to be built like a shingled roof, in miniature. Water-resistive barrier and flashing tape are layered so that any water that gets past the exterior trim is directed back out, never trapped behind the siding or wall sheathing. The sill pan is the most important piece of this system and the most commonly skipped step on rushed jobs — it creates a sloped, sealed catch basin under the window so incidental moisture drains outward instead of soaking into the framing.
Insulation and Air Sealing
The gap between the window frame and the rough opening needs to be filled with a low-expansion foam or backer rod and sealant designed for window installation, not packed with fiberglass insulation alone. Fiberglass can hold moisture against the frame if any water does get in, while proper foam sealing keeps the gap both insulated and dry. This step is also where a lot of the draft complaints homeowners have with older or poorly installed windows come from.
Choosing the Right Window Frame for Local Conditions
There's no single "best" window material for every home, but some perform better than others in a climate defined by sustained moisture exposure. Here's how the common options stack up for a Burlington-area home:
| Frame Material | Moisture Performance | Maintenance | General Cost Position |
|---|---|---|---|
| Vinyl | Won't rot; handles moisture well | Low — occasional cleaning | Budget-friendly |
| Fiberglass | Excellent; very stable in wet/dry cycles | Low | Mid to upper range |
| Wood-Clad | Good if the cladding and seals are intact; interior wood needs protection from any leaks | Higher — finish and seal upkeep | Upper range |
| Aluminum | Prone to condensation without a thermal break; can transfer cold | Moderate | Varies |
We tend to steer Burlington homeowners toward vinyl or fiberglass for most applications, not because wood-clad windows are a bad product, but because our climate offers little margin for error on maintenance. A wood-clad window that gets its exterior finish neglected for a few seasons in a wet climate is taking on more risk than a vinyl or fiberglass unit would in the same spot. If you want the look of wood on the interior with better resistance to our weather on the exterior, that's a conversation worth having — the right answer depends on the specific window, exposure, and how much upkeep you want to commit to.
How Our Installation Process Works
We follow the same disciplined sequence on every job, whether it's one window or a whole-house replacement:
- On-site assessment of existing openings, framing condition, and any signs of prior water damage
- Precise measurement and window ordering matched to the exact opening and your material choice
- Careful removal of the old window with attention to what's found in the opening — this is often where hidden rot or old flashing failures turn up
- Repair of any damaged framing or sheathing before the new window goes in — we don't install over a compromised opening
- Installation of water-resistive barrier, sill pan flashing, and window flashing in the correct shingled sequence
- Setting the window plumb, level, and square, with proper shimming
- Low-expansion foam or backer rod and sealant around the frame perimeter
- Exterior trim, caulking, and finish work matched to your home's existing details
- Interior trim and final function check — smooth operation, tight seal, secure locks
- Full cleanup and a walkthrough so you know exactly what was done
New Construction Windows vs. Replacement Windows
These are two different installation methods, and using the wrong one is a common source of long-term problems.
New Construction (Nail-Fin) Windows
These have a nailing flange that fastens directly to the wall sheathing and gets integrated with the house wrap and siding. This is the stronger, more thorough method because it allows full access to the rough opening and proper flashing layering — but it requires removing siding around the window, which is more involved work.
Insert (Pocket) Replacement Windows
These fit into the existing frame without disturbing the surrounding siding or trim, which makes them faster and less invasive. They're a reasonable option when the existing frame and flashing are sound. The tradeoff is that you're relying on whatever water management was originally installed, so this method only makes sense after confirming the existing opening isn't already compromised.
We'll tell you honestly which approach your home needs rather than defaulting to whichever is faster for us. If your existing opening shows any sign of past moisture intrusion, we're going to recommend the more thorough approach even if it costs more, because sealing a new window over a hidden problem just delays a bigger repair.
Mistakes We See From Rushed or Inexperienced Installs
We get called in to fix problems that trace back to installation shortcuts more often than to bad windows. The most common issues:
- No sill pan flashing, or flashing tape applied in the wrong order so water gets directed inward instead of out
- Caulk used as the primary air/water seal instead of proper foam and backer rod behind the frame
- Windows shimmed out of square, causing premature hardware wear and difficulty operating the window
- Reusing old, saturated framing without repair because it was faster than fixing it properly
- Skipping the interior air seal, which shows up later as drafts and higher heating costs
None of these mistakes are visible from the street. They surface years later as the exact symptoms we described earlier — soft trim, fogged glass, musty smells — at which point the repair is more expensive than doing it right the first time would have been.
Why a Crew That Already Works in Burlington Makes a Difference
Window installation technique doesn't change by zip code, but judgment calls do. Knowing how aggressively to flash an opening, which sealants hold up through a full wet season without losing adhesion, and how a particular siding type in this area tends to interact with window trim comes from doing the work locally, repeatedly, through actual Skagit County weather — not from a manufacturer's install manual alone. A crew that's worked on homes throughout Anacortes and the surrounding communities has already seen how these details play out over years, not just at the moment of installation.
There's also a practical side to hiring local: response time if anything needs a follow-up adjustment, familiarity with the area's common home ages and construction styles, and accountability that comes from being a business people in your own community can find again next year.
Protecting Your Investment After Installation
A correctly installed window is low-maintenance, but not zero-maintenance, especially in a climate this wet. A few habits go a long way:
Rinse pollen, dust, and grime off the glass and frames a couple times a year — buildup on vinyl and fiberglass is cosmetic, but debris trapped in tracks can affect operation. Check exterior caulk lines annually, particularly after a harsh winter, since sealant is the one component that does wear over time even on a well-installed window. And keep an eye on the moss and algae situation near your rooflines and siding generally; if you notice new growth concentrated right below a window after it's already been properly installed, that's worth a quick look rather than an assumption that it's normal for the area.
If you're in Burlington and dealing with drafty, foggy, or aging windows — or planning ahead for a remodel — we're happy to come take a look and give you a straightforward, no-pressure assessment of what your home actually needs. Use the form below to request a free estimate.