 Anacortes Siding
 Why Flounder Bay Siding Wears Differently
Flounder Bay sits close to open water on Fidalgo Island, and that proximity changes what siding has to survive. Homes here take on salt-laden air off the water, wind-driven rain that gets pushed sideways into wall assemblies, and a wet season that runs long even by Skagit County standards. Add in the shade from mature evergreens common around Anacortes' waterfront lots, and you get siding that stays damp longer than it would a few miles inland. That combination is exactly what breaks down siding over time — not one dramatic event, but years of moisture cycling, salt exposure on fasteners and trim, and moss quietly holding water against the wall.
Siding repair in a neighborhood like this isn't just about patching what's visibly damaged. It's about understanding why that section failed in the first place, because if the underlying cause — a flashing gap, a caulk joint that opened up, a section that never had proper clearance from grade or roofline — isn't addressed, the same spot will fail again in a season or two.
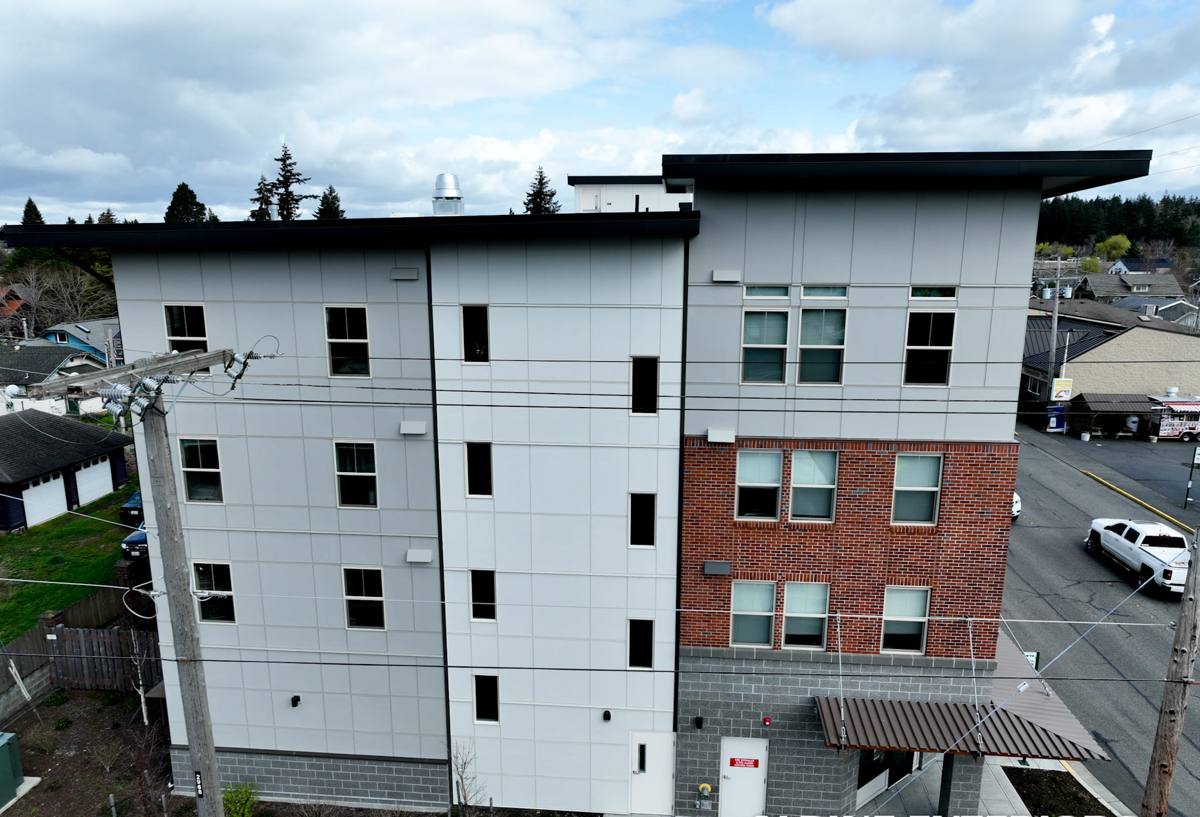
Signs a Flounder Bay Home Needs Siding Repair
Most siding problems announce themselves quietly before they become expensive. Homeowners near the water should watch for:
- Soft, spongy, or discolored spots when you press on the siding, especially near the bottom courses or under windows
- Persistent green or black staining that comes back within weeks of cleaning — a sign moss or algae has a moisture source to feed on, not just a surface stain
- Cracked, bubbled, or peeling paint concentrated on one wall or elevation, which usually points to a moisture issue behind the surface rather than a paint problem
- Visible rust bleeding from nail heads or fastener lines, common where salt air accelerates corrosion on standard fasteners
- Gaps opening up at butt joints, corner boards, or trim where caulking has shrunk, cracked, or pulled away
- A musty smell or visible moisture inside on an exterior wall, which can mean water has already gotten past the siding
Any one of these on its own might be minor. Several together, or damage concentrated on the side of the house that faces the water or prevailing wind, usually means it's worth a proper inspection rather than a wait-and-see approach.
What a Correct Siding Repair Actually Involves
Diagnosis Before Demolition
A repair that's done right starts with figuring out why the damage happened, not just cutting out the bad section. That means checking behind the siding wherever possible — looking at the house wrap or building paper, the flashing above windows and doors, the condition of the sheathing, and whether the siding was ever installed with the clearances it needs from the roofline, deck surfaces, and grade. Skipping this step is how a "repair" turns into a callback six months later.
Matching the Existing Material
Siding repair almost always means matching what's already on the house — profile, exposure, and finish. This is straightforward when the home has fiber cement with a factory finish, because color and texture are consistent and traceable. It gets harder on older siding types where the original product may no longer be manufactured, or where sun and salt exposure have faded the existing panels enough that a brand-new piece stands out next to them. Part of an honest repair estimate is telling a homeowner upfront when a perfect color match isn't realistic, rather than promising one and delivering a patchwork wall.
Addressing the Root Cause
Once the damaged material is out, the repair should fix what let water or moss get a foothold in the first place — re-flashing a window head, correcting a clearance issue, replacing failed house wrap in that section, or re-sealing a joint with the right sealant for the material and exposure. Then the new siding goes back on to match the surrounding courses, and all trim and caulk lines get finished so the repair is watertight, not just cosmetically closed up.
Common Failure Points We See on Waterfront Homes
| Problem Area | Why It Happens Near the Water | What a Repair Should Fix |
|---|---|---|
| Bottom courses near grade or decks | Splash-back, poor drainage, and standing moisture from long wet seasons | Restore clearance, correct grading or drainage, replace affected boards |
| Window and door flashing | Wind-driven rain forces water into small gaps that inland homes rarely see | Re-flash properly before new siding goes back on |
| Corner boards and butt joints | Caulk breaks down faster under UV, salt air, and constant damp-dry cycling | Remove old sealant fully and re-seal with the correct product |
| Shaded, moss-prone walls | Tree cover keeps north- and west-facing walls damp for days after rain | Clean, treat, and correct any moisture trap behind the growth |
| Fasteners and trim hardware | Salt air corrodes standard fasteners faster than inland exposure | Replace with corrosion-resistant fasteners rated for coastal use |
Repair or Replace? How We Make That Call
Not every problem area needs a full re-side, and we don't push replacement when a targeted repair will genuinely hold up. The decision usually comes down to how much of the wall is affected and whether the damage is isolated or systemic.
| Factor | Repair Is Usually Enough | Replacement Should Be Considered |
|---|---|---|
| Extent of damage | Isolated to one or two sections or elevations | Recurring across multiple walls or the whole house |
| Underlying sheathing | Sound once the source of moisture is corrected | Soft, rotted, or compromised over a wide area |
| Material age and condition | Siding is otherwise in good shape and color-matchable | Siding is near end of life, faded, or a discontinued product |
| Root cause | A fixable flashing, clearance, or sealant issue | A systemic installation problem repeating house-wide |
We'll always tell a homeowner honestly which category their house falls into, including when a repair is the right call even if a full re-side would be a bigger job for us.
Why We Repair With, and Recommend, James Hardie Fiber Cement
When repair work does call for new siding material — whether it's a full panel replacement on a damaged wall or a homeowner deciding a partial repair isn't worth it long-term — we install James Hardie fiber cement exclusively. We don't install vinyl, LP SmartSide, primed wood, or other fiber cement brands, and in a marine environment like Flounder Bay the reasoning is practical, not a sales pitch.
Fiber cement doesn't absorb water the way wood-based products can, which matters directly for a neighborhood dealing with a long wet season and salt-laden air. James Hardie's ColorPlus factory finish is baked on and engineered to hold up against UV and moisture better than field-applied paint, which reduces how often a homeowner is repainting a house exposed to salt spray. Hardie also builds climate-specific HZ product lines, and the HZ5 formulation is engineered for the kind of freeze-thaw and moisture-cycling conditions the Pacific Northwest coast sees. It's non-combustible, which matters increasingly across Washington, and it carries a strong transferable warranty when installed to manufacturer spec — something that only holds up if the installer actually follows that spec, which is a big part of why installation quality matters as much as the product choice itself.
None of that means other products are without merit — it means that for homes taking the kind of punishment Flounder Bay properties take, we've made Hardie our standard rather than gambling on a product line better suited to milder, drier conditions.
Our Repair Process
1. On-Site Assessment
We walk the exterior, check the areas the homeowner is concerned about, and look for damage that isn't obvious yet — especially on walls facing the water or shaded by trees.
2. Moisture and Cause Check
Where damage is found, we open it up enough to see what's happening behind the siding before quoting the fix, so the estimate reflects the actual repair rather than a guess.
3. Written Scope and Straight Answer on Repair vs. Replace
The homeowner gets a clear scope of work and an honest recommendation — repair, or a case for replacement — with the reasoning explained, not just a number.
4. The Repair
We correct the root cause first — flashing, clearance, drainage, or sealant — then install and finish matching material so the repair is both watertight and visually consistent with the rest of the house.
5. Cleanup and Walkthrough
We clean the site and walk the completed work with the homeowner so they know exactly what was done and why.
Why Local Experience in Flounder Bay Matters
A crew that regularly works waterfront neighborhoods around Anacortes knows what to check first — the wall that faces prevailing wind and rain, the shaded side that never fully dries out, the trim details that fail earliest in salt air. That's the difference between a repair that addresses a symptom and one that fixes the actual problem. It also means fewer surprises with access, weather timing, and scheduling around the wetter stretches of the year, since we're already working this part of Skagit County on a regular basis rather than treating it as a one-off trip.
A Few Things Worth Checking Before You Call
- Walk the exterior after a hard rain and note any walls that stay visibly wet longer than others
- Check under windows and at corner boards for soft spots, cracked caulk, or gaps
- Look for moss or dark staining that returns quickly after cleaning
- Note any interior signs — musty smell, discoloration, or soft drywall — on exterior walls
- Check fastener heads and trim hardware for rust streaking
If you're seeing any of this on a Flounder Bay home, we're happy to take a look and give you a straight assessment — no pressure, and no automatic upsell to a full re-side if a repair is genuinely the right call. Request a free estimate through the form below and we'll schedule a time to walk the property with you.