 Anacortes Siding
 Building Near the Water Changes the Window Conversation
Flounder Bay sits close enough to the water that salt-laden air, wind-driven rain, and long stretches of damp, shaded weather are part of daily life, not occasional events. When a home is going up from the ground rather than getting a window swap-out, you get one real chance to build the window openings correctly the first time. Get the flashing, fastening, and product selection right during new construction, and the windows will perform quietly for decades. Get it wrong, and problems tend to show up behind the wall where nobody sees them until there's a stain, a soft spot, or a musty smell.
This page is specifically about new-construction window installation for homes being built in the Flounder Bay area of Anacortes, in Skagit County. It's a different job than replacing windows in an existing wall, and it deserves its own explanation.
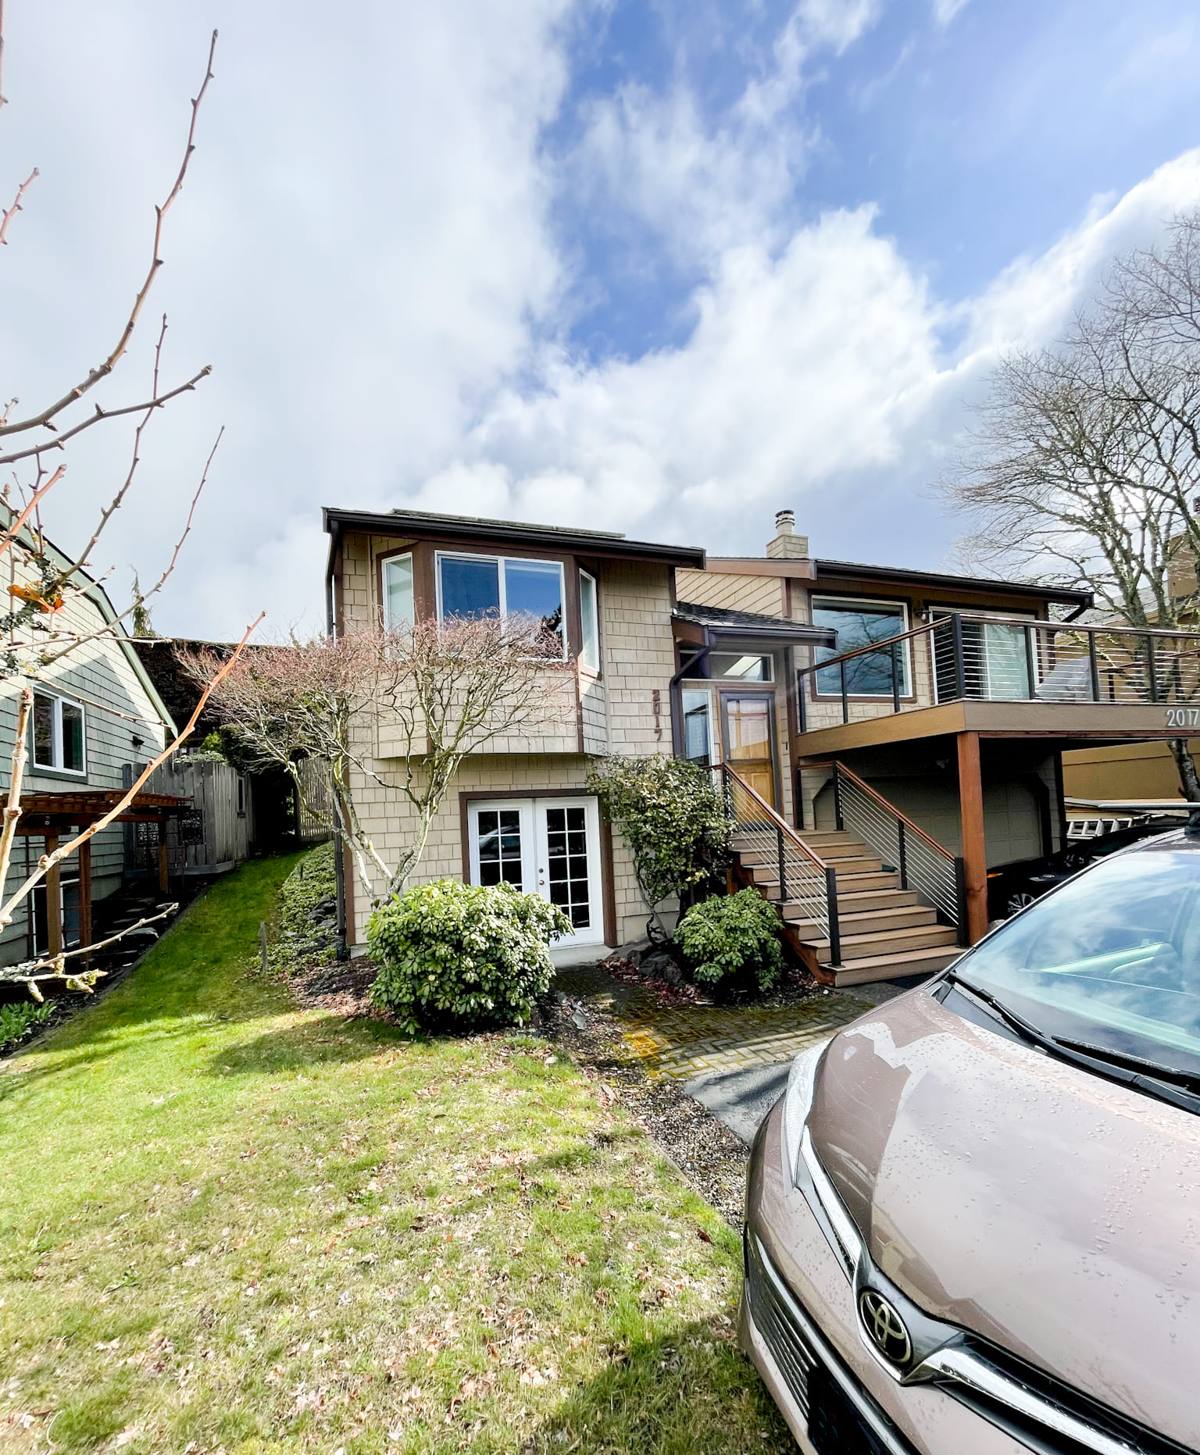
What Flounder Bay's Climate Actually Does to a Window Opening
A few conditions come up again and again on jobs in this part of Fidalgo Island:
- Salt air corrosion — proximity to saltwater accelerates corrosion on unprotected fasteners, hinges, and hardware, and it can degrade certain sealants faster than the manufacturer's inland test data would suggest.
- Driving rain — wind off the water doesn't just fall straight down; it pushes rain sideways into wall assemblies, which puts real pressure on flashing details and window sill pans, not just the window unit itself.
- Extended damp, low-sun months — long stretches of overcast, moist weather mean any trapped moisture behind a window has fewer chances to dry out before it starts feeding mold or rot.
- Moss and organic growth — moss doesn't just grow on roofs here; it colonizes sills, trim, and any horizontal surface that stays damp, which can trap moisture against the window frame if the details weren't built to shed water away from those surfaces.
None of this means Flounder Bay is a hard place to build — plenty of homes here have handled decades of this weather fine. It means the installation details matter more than the window brand name on the sticker.
New Construction vs. Replacement: Why the Method Matters
New-construction windows are installed into a framed, unfinished opening before siding and interior finishes go on, using a nailing flange that gets integrated directly into the home's water-resistive barrier (the house wrap) and flashing system. This is different from a retrofit or "pocket" replacement window, which gets installed into an existing frame after the home is already finished.
The advantage of doing it right during new construction is access — we can see the rough opening, the sheathing, and the WRB before anything is covered up. That means:
- A sloped sill pan can be built or installed correctly, so any water that gets past the window sheds outward instead of pooling.
- Flashing tape can be layered in proper shingle-fashion (bottom to top) so each layer overlaps the one below it, the way water actually flows.
- The window can be shimmed, leveled, and fastened without fighting existing finishes.
- Insulation and air-sealing around the frame can be done properly instead of guessed at through a small gap.
Skip or rush any of these steps, and the window itself could be a top-tier product and still fail — because the leak path is almost never through the glass or the sash. It's almost always at the interface between the window and the wall.
The Sill Pan: The Detail That Gets Skipped Most Often
On a site exposed to driving rain like Flounder Bay, a sill pan under the window — flashing that creates a shallow waterproof "pan" at the bottom of the rough opening — is the single most important detail standing between a dry wall cavity and a slow, hidden leak. It's inexpensive and takes extra time to install correctly, which is exactly why it's the step most commonly shortcut on production builds. We treat it as non-negotiable, not an upgrade.
Choosing Materials That Hold Up to Salt Air
There's no single "best" window material for coastal Skagit County — there are trade-offs, and being honest about them up front saves headaches later.
| Material | How it handles salt air & moisture | Maintenance | Trade-offs |
|---|---|---|---|
| Vinyl | Won't corrode or rust; handles salt spray well | Low — occasional cleaning | Frame color/size options more limited than fiberglass; expands/contracts with temperature swings |
| Fiberglass | Very stable in moisture and temperature swings; strong resistance to warping | Low | Higher upfront cost than vinyl |
| Aluminum-clad wood | Attractive, but exposed wood or bare aluminum components can be vulnerable near salt air if detailing and finish aren't maintained | Higher — finish and seals need periodic attention | Best appearance option for some buyers, but needs a maintenance commitment near the water |
| Bare wood | Least suited to a marine, high-moisture environment without diligent upkeep | Highest | We'll install it if a homeowner wants the look, but we always explain the maintenance burden this close to the bay first |
We're not going to tell a homeowner a product is "bad" — every option on this list is a legitimate, code-compliant choice used in coastal construction. Our job is to lay out what each one actually requires once it's living twenty feet from salt water, so the decision is made with full information instead of a showroom sales pitch.
Hardware and Fastener Corrosion — the Overlooked Detail
Salt air is hardest on small metal parts: screws, hinges, cranks, and locking hardware. Standard carbon-steel fasteners can start showing rust streaks on a house near Flounder Bay well before they would inland. On new-construction installs in this area, we pay attention to using corrosion-resistant fasteners and hardware rated for coastal or marine exposure, and we flag any manufacturer hardware package that isn't built for it. It's a small line item that prevents an ugly, avoidable problem five or ten years down the road.
Performance Numbers Worth Actually Understanding
Every window sold in the U.S. carries an NFRC label with performance ratings. Two of them matter most for a Skagit County build:
- U-Factor — measures how well the window prevents heat from escaping. Lower is better for our mild-but-damp, heating-dominated climate. This is the number most tied to winter comfort and heating costs here.
- SHGC (Solar Heat Gain Coefficient) — measures how much solar heat passes through the glass. In the Pacific Northwest we get far less direct sun than other regions, so this matters less here than it would in a sunnier climate, but orientation (especially west- and water-facing rooms that catch afternoon glare off the bay) still plays into the right choice.
Beyond the label, look at the window's air infiltration rating and design pressure (DP) rating — those numbers describe how well the unit resists wind-driven air and water intrusion, which is directly relevant to a site exposed to open water and wind.
Our New-Construction Window Installation Process
- Rough opening check. We verify openings are square, plumb, and sized correctly before any window ever shows up on site.
- Sill pan flashing. A sloped, waterproof pan is built or installed at the base of each opening.
- Jamb and head flashing. Flashing tape is layered shingle-style, integrated with the house wrap, so water is directed out and down, never trapped behind the window.
- Window set, shim, and level. The unit is set plumb, level, and square, then fastened per the manufacturer's nailing schedule — not "close enough."
- Air-sealing and insulation. The gap between the frame and rough opening is properly insulated and air-sealed, which affects both energy performance and moisture control.
- Exterior integration. Head flashing and any drip cap are tied into the siding and trim details so water sheds away from the window, not toward it.
- Final inspection and operation check. Every sash and lock is tested before we call the opening finished.
Mistakes We Commonly See on New Builds in Wind- and Rain-Exposed Areas
- Skipping the sill pan or using a bead of caulk in its place — caulk fails over time; a proper pan doesn't rely on adhesive alone.
- Flashing tape applied out of shingle order, which can actually funnel water into the wall instead of away from it.
- Fasteners driven through the flange without regard for the manufacturer's spacing and type, which can void warranty coverage and weaken wind resistance.
- Standard hardware used on an exposed, water-facing elevation without any consideration of corrosion resistance.
- Gaps around the frame left unsealed on the interior, allowing humid indoor air to condense inside the wall cavity during our cooler months.
Why Hiring a Crew That Already Works Flounder Bay Matters
Window installation instructions from manufacturers are written to satisfy a broad national code standard — they're not written for a specific bay, a specific prevailing wind direction, or a specific builder's framing habits. A crew that regularly works new construction around Anacortes and Skagit County has already seen how water actually moves across a wall on a windy, water-facing lot, which elevations tend to take the worst weather, and which small details make the difference between a window that stays dry for thirty years and one that causes a callback in three. That local pattern-recognition is worth more than any single product upgrade.
If you're framing a home in the Flounder Bay area and want the window openings done right the first time — correct flashing, sound material choices for a marine environment, and hardware that won't corrode on you — we're happy to walk the plans with you and provide a free, no-pressure estimate. There's a form below; reach out and we'll go over what your project actually needs.